
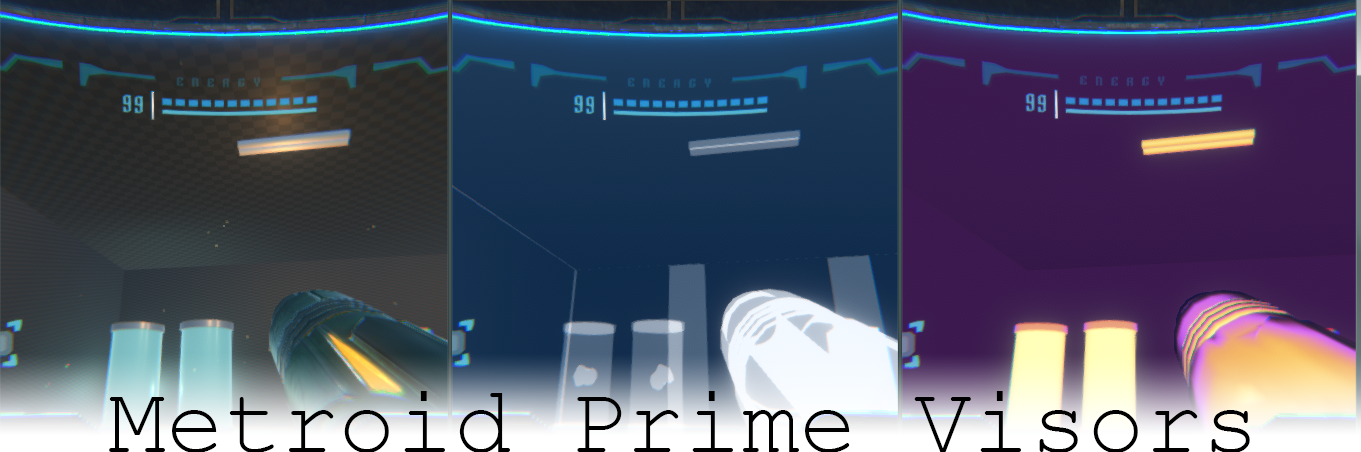
In the Metroid Prime games Samus has a series of tools to aid her in her adventures. A type of tool she can get are visor upgrades. These visors allow views of the world that are not normals visible, Such as a Scanner Visor, Thermal Visor, and X-Ray Visor. In this post we will be covering and breaking down the effects, how they are achieved, and how to implement them into a modern graphics engine. I was inspired by André Cardoso’s base project he made on his awesome Mix And Jam: Metroid HUD tutorial! This tutorial will not require his base project, but still a great watch to get into the mood.
Notice: This tutorial was written with Unity3D in mind, but the shaders we write are very easy to port.
X-Ray Visor
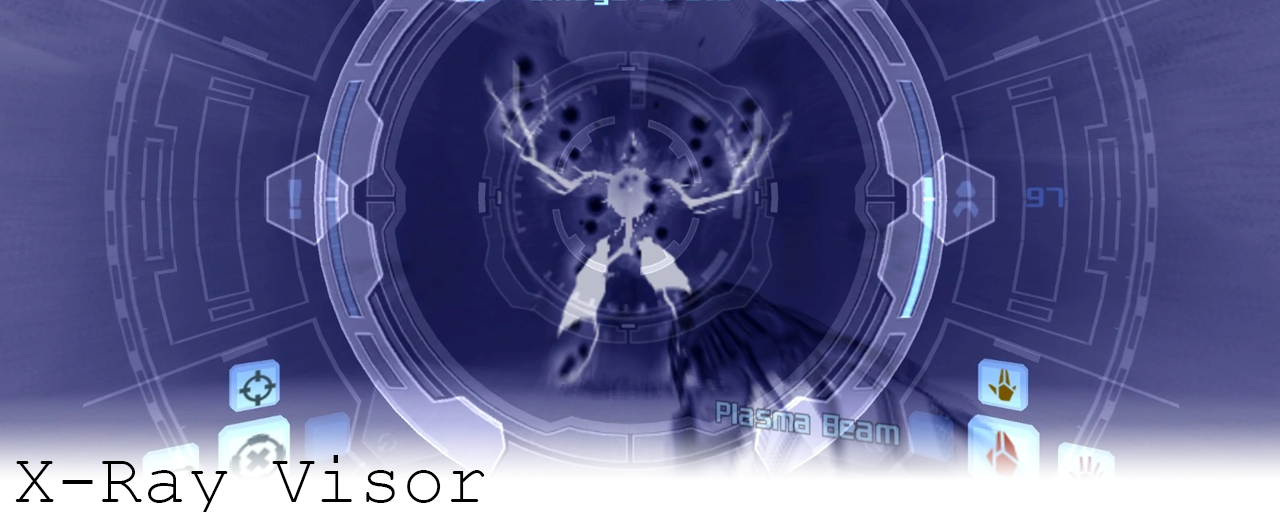
The X-ray is supposed to imitate the images of an actual X-ray scan. There is a couple things to keep in mind when looking at Metroid’s implementation.
- Very high contrast
- Surfaces accumulate ‘brightness’
- Content Darkens as it gets further away.
- The Color Pallet, it’s not quite black and white
With these in mind we can start working on our shader. I started off with a new unlit shader, and there are a few things we need to configure specifically for the transparency. First we need to set the render queue to transparent, and then change the blending mode to be One One
SubShader
{
    Tags { "Queue" = "Transparent" "RenderType" = "Transparent" "IgnoreProjector" = "True" }
    ZWrite Off
    LOD 100
    Blend One One
    Pass
    {
    ...
At a high level additive rendering takes the pixel that is there, and adds the surfaces being rendered onto it, where normal rendering replaces if the surface is closer to the camera then what is already rendered. This is an effect desirable for lights and fire effects, that we are going to take advantage of.
Let’s Make a material with a texture, and put a few in our scene.
The overlapping, and accumulation is exactly what we want. Let’s set clear flags to Solid Color, the Background to be black on the camera, and change the shader to always output a gray.

fixed4 frag (v2f i) : SV_Target
{
    return fixed4(0.25,0.25,0.25,1);
}
This effect is starting to look a bit closer to what we want, but the x-ray visor starts to darken objects based off of the depth of the surface. Inside the shader, we need to calculate the clip space position for each vertex, and thus fragment. Once calculated we will put the screen position into the varying v2f so our fragment shader can read it.
struct v2f
{
    ...
    float4 screenPos : TEXCOORD1; //Used to store the screen position for the frag shader
};
v2f vert (appdata v)
{
    v2f o;
    ...
    o.screenPos = ComputeScreenPos(o.vertex);
    ...
    return o;
}
Unity has a built in method that calculates screen pose for us. Once we have the clip space, we want to use the z component to scale our color. I am using smoothstep with some hard coded values to calibrate the values.
fixed4 frag(v2f i) : SV_Target
{
    float4 clip = i.screenPos / i.screenPos.w;
    return fixed4(1, 1, 1, 1) * smoothstep(0, .025, clip.z);
}
Keep in mind when you pass something from the vertex to the fragment shader, it tri-linearly interpolates every varying value, for every rendered pixel. This allows a smooth transition of color, and even uvs to stretch over the surface!
To polish this off, we need to introduce the blue into the midtones. There are a few ways to approach this, you could mathematically define the color curve, but that can be difficult to match, and can take a decent amount of time. I choose to do a Lookup Texture, or LUT. A LUT is a means to use a value to drive where the shader is looking into a texture. After a short time in Photoshop, I made a gradient that I will use for the LUT

Note the texture I actually saved out, and am using is 256×2 pixels I scaled it up to be more visible.
I made, and applied to the camera, a simple screen space/image effect shader that looks into the screen texture, and uses the red channel col.r of it to look into the U axis of our lut. Keep in mind I could use and color channel since the image is grayscale, it will yield the same results.
Properties
{
    _MainTex ("Texture", 2D) = "white" {}
    _LUT("Lut",2D) = "white"{}
}
...

sampler2D _MainTex;
sampler2D _LUT;

fixed4 frag (v2f i) : SV_Target
{
    fixed4 col = tex2D(_MainTex, i.uv);
    return tex2D(_LUT, fixed2(col.r,0.5));
}

That is the basics of how I mimicked the X-Ray Visor from Metroid prime. This effect can be extended if you want, from doing unique textures or meshes inside this view to adding more visual flair to the post effect.
Thermal Visor
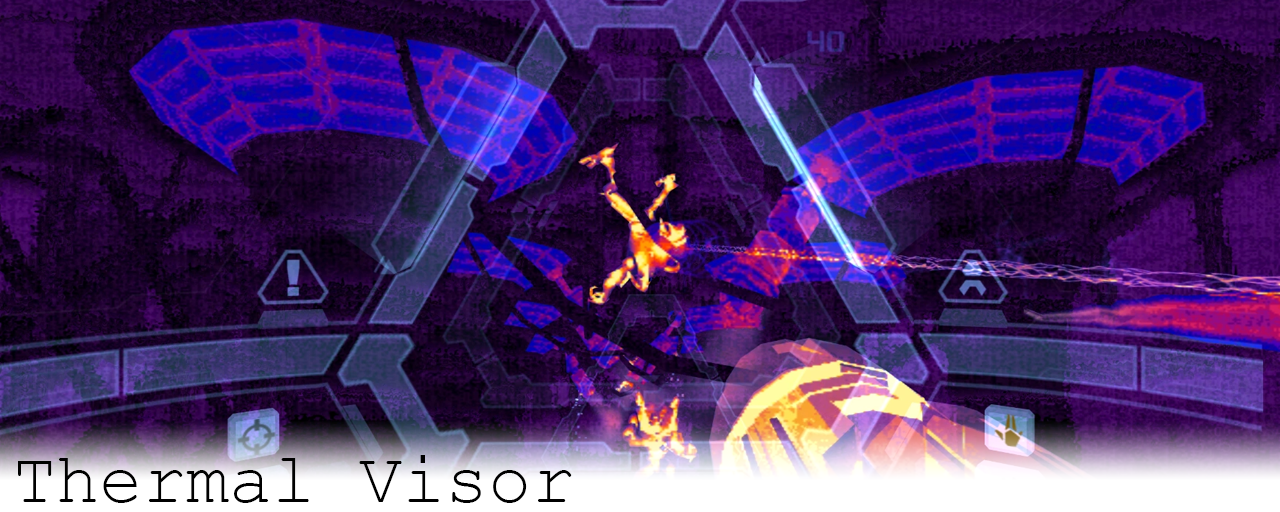
The Thermal visor in Metroid is mimicking infrared camera, which translate black body radiation (heat) to visible light usually in the form of a rainbow gradient. There is an attempt to get similar results, but Metroid took some artistic liberties.
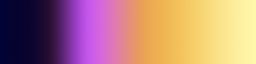
- There is a gradient that ramps from a deep violet up to a hot yellow
- The ‘hottest’ sources emit more heat from surfaces facing the camera
- ‘Cooler’ sources to me be very flatly colored
Similar to the x ray visor, I made another Lookup texture (LUT) to map a grayscale image with. This LUT gives up additional control over the ramping, and simplifies how we will be generating the thermal effect.
There is a technique in rendering called a Fresnel (also known as rim lighting). Fresnel is used when trying to simulate surfaces that gather more light on their edges, like fur or velvet. This is also used in games usually to help show silhouettes like in holograms, ghosts, or even stylized characters. We will be using this as our base technique to help drive the thermal view. The formula for fresnel is quite simple, just the dot product of the surface normal, and your view vector.
struct appdata
{
    ...
    float3 normal : NORMAL; //the 'NORAML' keyword let us dig into the normals baked into the verts
};
struct v2f
{
    ...
    float3 normal : TEXCOORD1; // These 2 are to store data from the vertex program to the fragment
    float3 viewDir : TEXCOORD2;
};
v2f vert (appdata v)
{
    v2f o;
    ...
    o.viewDir = ObjSpaceViewDir(v.vertex);  //Calculate the cameras forward vector on each vert
    o.normal = v.normal; //pass the normals down to the fragment shader
    return o;
}
fixed4 frag(v2f i) : SV_Target
{
    float fresnel = 1-dot(          //I did a 1- to show the white on the edges of the render, removed later
        normalize(i.viewDir),
        normalize(i.normal));
    return fixed4(1, 1, 1, 1)* fresnel;
}
Notice the white outlining on the edges of the surface, that is going to be the main driver of our LUT for objects that are ‘hot’. So now we are going to use the fresnel to drive the the Tex2D sampler.
Properties
{
    ...
    _LUTHeat("Texture", 2D) = "white" {}
}
...
sampler2D _LUTHeat;
...
fixed4 frag(v2f i) : SV_Target
{
    ...
    return tex2D(_LUTHeat,fixed2(fresnel,0.5)); //I am using a 0.5 to be in the middle of the texture Really should not change much.
}
That’s starting to look pretty good, however we need to add some controls for adjusting the material, and the amount of ‘heat’ objects emit. Let’s add a Vector Property(uniform), so we can start packing in metadata about the objects.
Properties
{
    ...
    _Heat("Heat",Vector) = (0.5,0,0,0)
}
...
float4 _Heat;
...
fixed4 frag(v2f i) : SV_Target
{
    ...
    float therm = smoothstep(
        _Heat.x - _Heat.y,
        _Heat.x + _Heat.y,
        fresnel);
    return tex2D(_LUTHeat, fixed2(therm, 0.5));

}
The therm object, and smoothstep might look a little intimidating, but what this is letting us do is remap the surface’s Fresnel to the texture coord. By Adjusting _Heat.x we can adjust the middle ground, where the 50% gray lines up on the texture, and the _Heat.y let’s adjust the width, of the texture on the surface. While Adjusting _Heat.x the LUT slides over the range of the Fresnel, and the _Heat.y pinches it.
Now that we can adjust how the gradient wraps around objects we need to have a way to make things look cooler, or atleast pull away from the Fresnel, and make objects look a bit flatter. Let’s continue to use the _Heat Vector we are already passing in. Inside the z, and w components (the 3rd and 4th floats in a Vector), we are going to store a flat color (grayscale) in the _Heat.z, and an interpolation value, or how much of the fresnel we are going to use compared to the z in _Heat.w.
fixed4 frag(v2f i) : SV_Target
{
    ...
    float blendAmount = lerp(therm, _Heat.z, _Heat.w);
    return tex2D(_LUTHeat, fixed2(blendAmount, 0.5f));
}
When we turn up _Heat.w it will blend to the _Heat.z value. So if we set W near one, and Z near zero we will get a nice cold look. Now that we have this in place we can start customizing scenes with nice hot spots that will pull attention, and be able to darken areas of less importance!
Conclusion
These remapping techniques are really nice because they can be used as a foundation for fun and stylized effects. You can do a cell shading effect with smoother falloffs, non traditional colors, or use a really unique effect with 2D gradients, and even time/animation! With this, and future tutorials I want to bring tools to people who may have been intimidated by shaders or graphics programming in the past, and motivate them to make something we may never have seen before.
Thank you for taking a look at my tutorial if you have any questions or suggestions about it feel free to message me on twitter. Thank you André Cardoso’s for the Mix and Jam video this tutorial was based from, and the entire series.
You can find the original link of this article here

Originally studying as a 3D modeler, Brandon found programming and graphics engineering to be far more enjoyable and switched his focus. Being able to harness the ‘magic’ of visual math is one of Brandon’s biggest drivers to learn. Helping others to learn is a passion of his, especially as they develop their own tricks of the trade to share. Brandon has 5 years of Unity experience, and 8 years of rendering engine experience.
Twitter: @_bpfarrell
Awesome post! Keep up the great work! 🙂
Great content! Super high-quality! Keep it up! 🙂